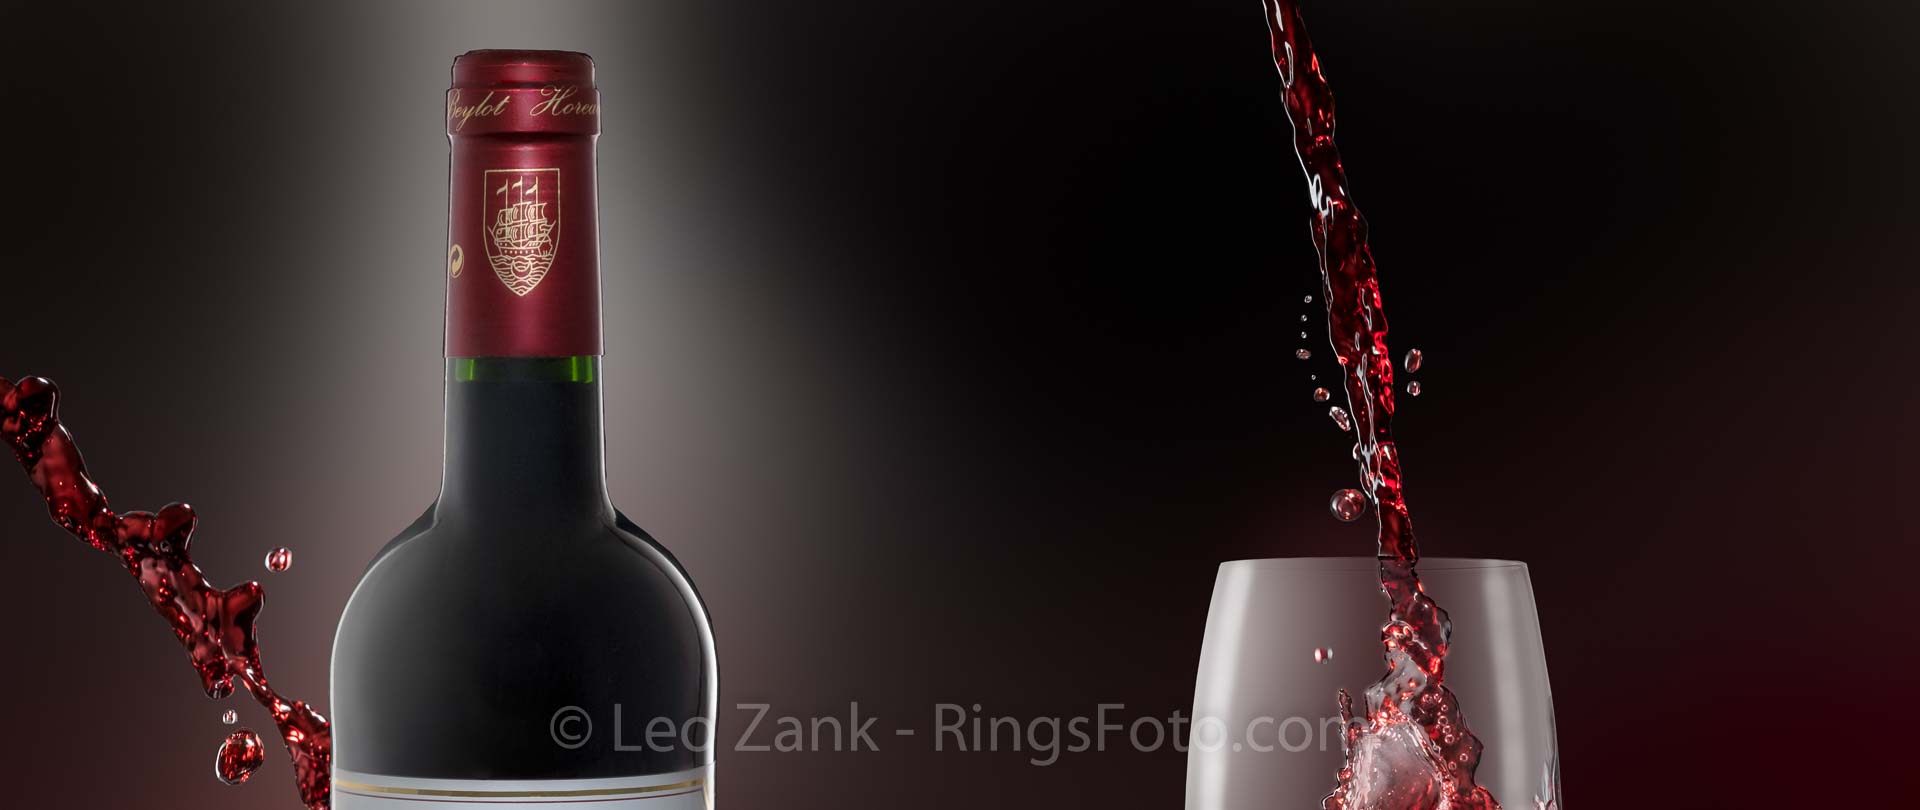
Wine Splash - Behind the Scene. Part One.
Product photography for high end advertising is not an easy task for any photographer. Creative photography in that field is becoming an art.
I am doing professional product photography for quite some time and start to understand that to create something better than you can catch directly from the tabletop you have to choose between two ways of photography. One way is fancy and crazy expensive professional light and camera stuff, yet you need to treat your images in Photoshop. Another way is to separate shooting process into different phases and create the story just like an artist do. You must get a blank screen and put whatever you want to see there. But, to achieve good result you should to have a good knowledge of any part of the process.
Let's make everything as clear as possible.
Phase one - Preparing.
You need to understand what do you want to see as a result. Best way to do it, if you just start to sharpen your skills, search and see some samples of good photography that inspires you.
Another way is to draw the sketch of the scene you want to photograph.
Even if you are not an artist you should to reveal what are you thinking for.
So, I decided I want to see a bottle of wine, a glass with some wine, a flow of wine pouring into the glass, good splash somewhere around the bottle and glass. Everything should has reflections and nice gradient light on the background.
What I was need to prepare to create image.
A. Equipment.
- Speedlights for bottle setup. One for background, one for gradient on the side of the bottle, one for "hair light" to highlight the label. White reflector for another side.
- Speedlights for glass setup. One for background, one for gradient on the side of the glass. Reflector for another side.
- Speedlights for shooting splashes. One speedlight to highlight the side of the glass with slim stripbox. One top light with strobe reflector and grid. One for background with strobe reflector and grid. One with long snoot for highlight the wine inside the glass (possibly).
- Black acrylic surface for nice reflections
- Plastic white background (can be 18% grey).
- Stands, clips.
- Something like a camera (Fujifilm X-E2 with 60mm "macro" lens). Tripod for the camera. Remote release.
- Wireless trigger for speedlights (Yongnuo manual system).
B. Objects.
- Nice bottle of wine (obviously). I bought three of the same brand and choose nicest one by form, label etc.
- Wine glass
- Wine for spilling all around. I bought 3 liters of cheap red wine in cardboard package.
- Basin and something to spill and splash the wine. I used small plastic cap.
- A lot of plastic film to cover surfaces in my home studio, due to I decided to create splashes and droplets of wine.
Finally I got three different lighting setups: for bottle, for empty glass, for spashes.
I chose to photograph each obect separately: the bottle on white background, the bottle on black background, empty glass, splashes with glass empty and filled with wine, flow of wine pouring to the glass.
It is critical to use nice and clean background for such photography, due to tough post-processing: we will have to separate each and every detail to put them together in the final image.
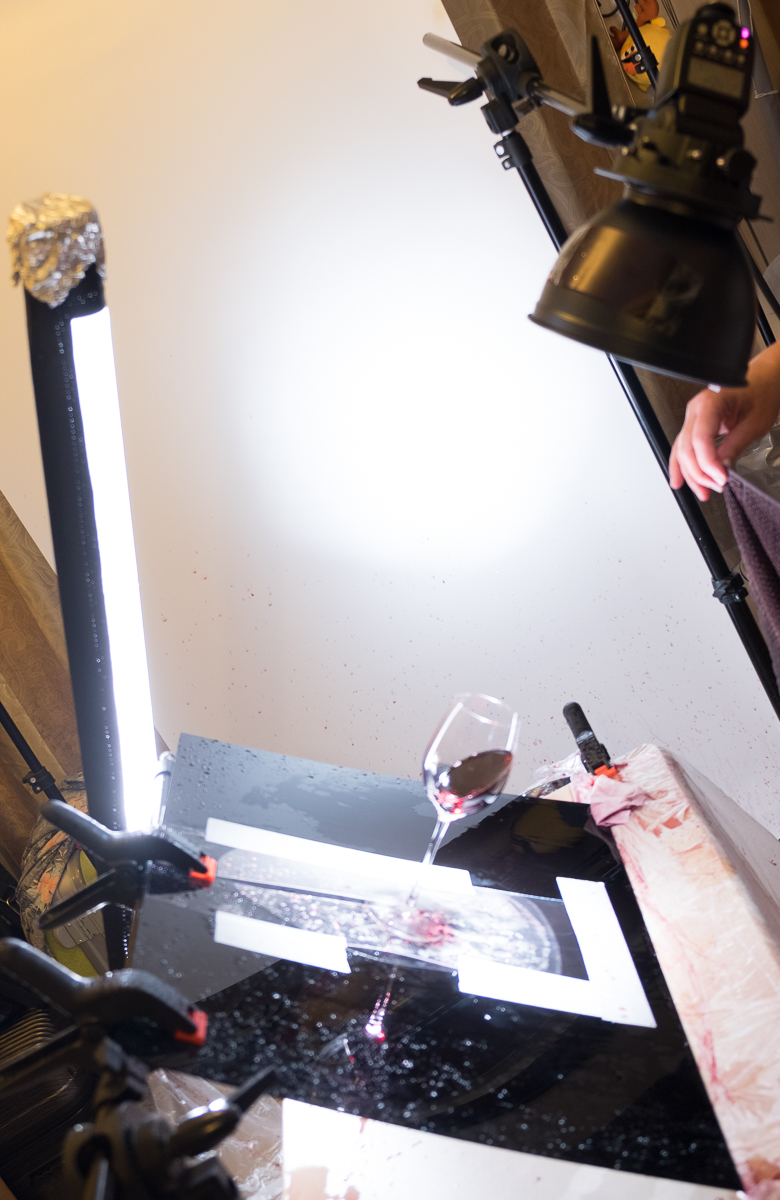
Here are two lighting schemes for shooting the bottle on the black background, and for shooting the splashes of wine.
Wine Splash Bts
Phase Two - Shooting the bottle and empty glass
The Bottle
First I decided to shoot the bottle on the light background (no edit):
When I got the images of the glass on the same background and in the same position to prevent difference in perspective (no edit):
When I decided that bottle will look better when the light is shaping its form. So I prepare the lighting setup for shooting on the black background (above) and get these images (no edit):
Doesn't they look exciting already, even straight out of camera?
All this took almost whole day for preparation, shooting and choosing the right images. I prepared the bottle and the glass, but I will tell about it in the Part 2 - Post Processing.
Phase Three - Shooting wine splashes
Next day we started with meditation of how to stick the glass to the angled surface? I tried glue gan, double sided glue tape, holding hand of my wife - nothing worked right. After few hours of breaking our brains we found the solution. It was the long enough hard transparent plastic where we cut the long hole to the center, where we insert the glass. We fixed the plastic sheet to the acrylic surface with glue tape resting the front of glass in order to catch the reflections from some splashes and droplets.
You may be ask - why do I need to fix the glass with some angle when I just can fix it to the horizontal surface? It is because of the splashes. If you want to create some feelings of movement, interesting shapes of splashes and droplets, you need to spill it with right angle from below to the top. All of this requires some practice to understand.
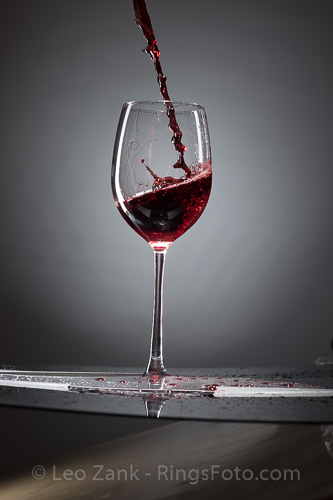
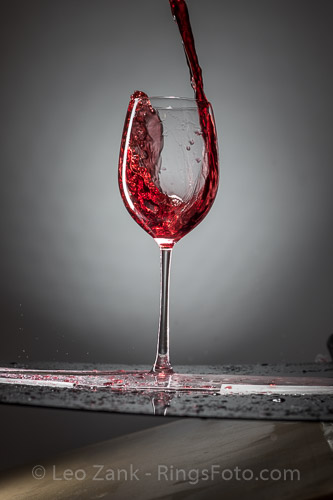
When we started fun part of the process. Here you can find the gallery of some splashes we shot.
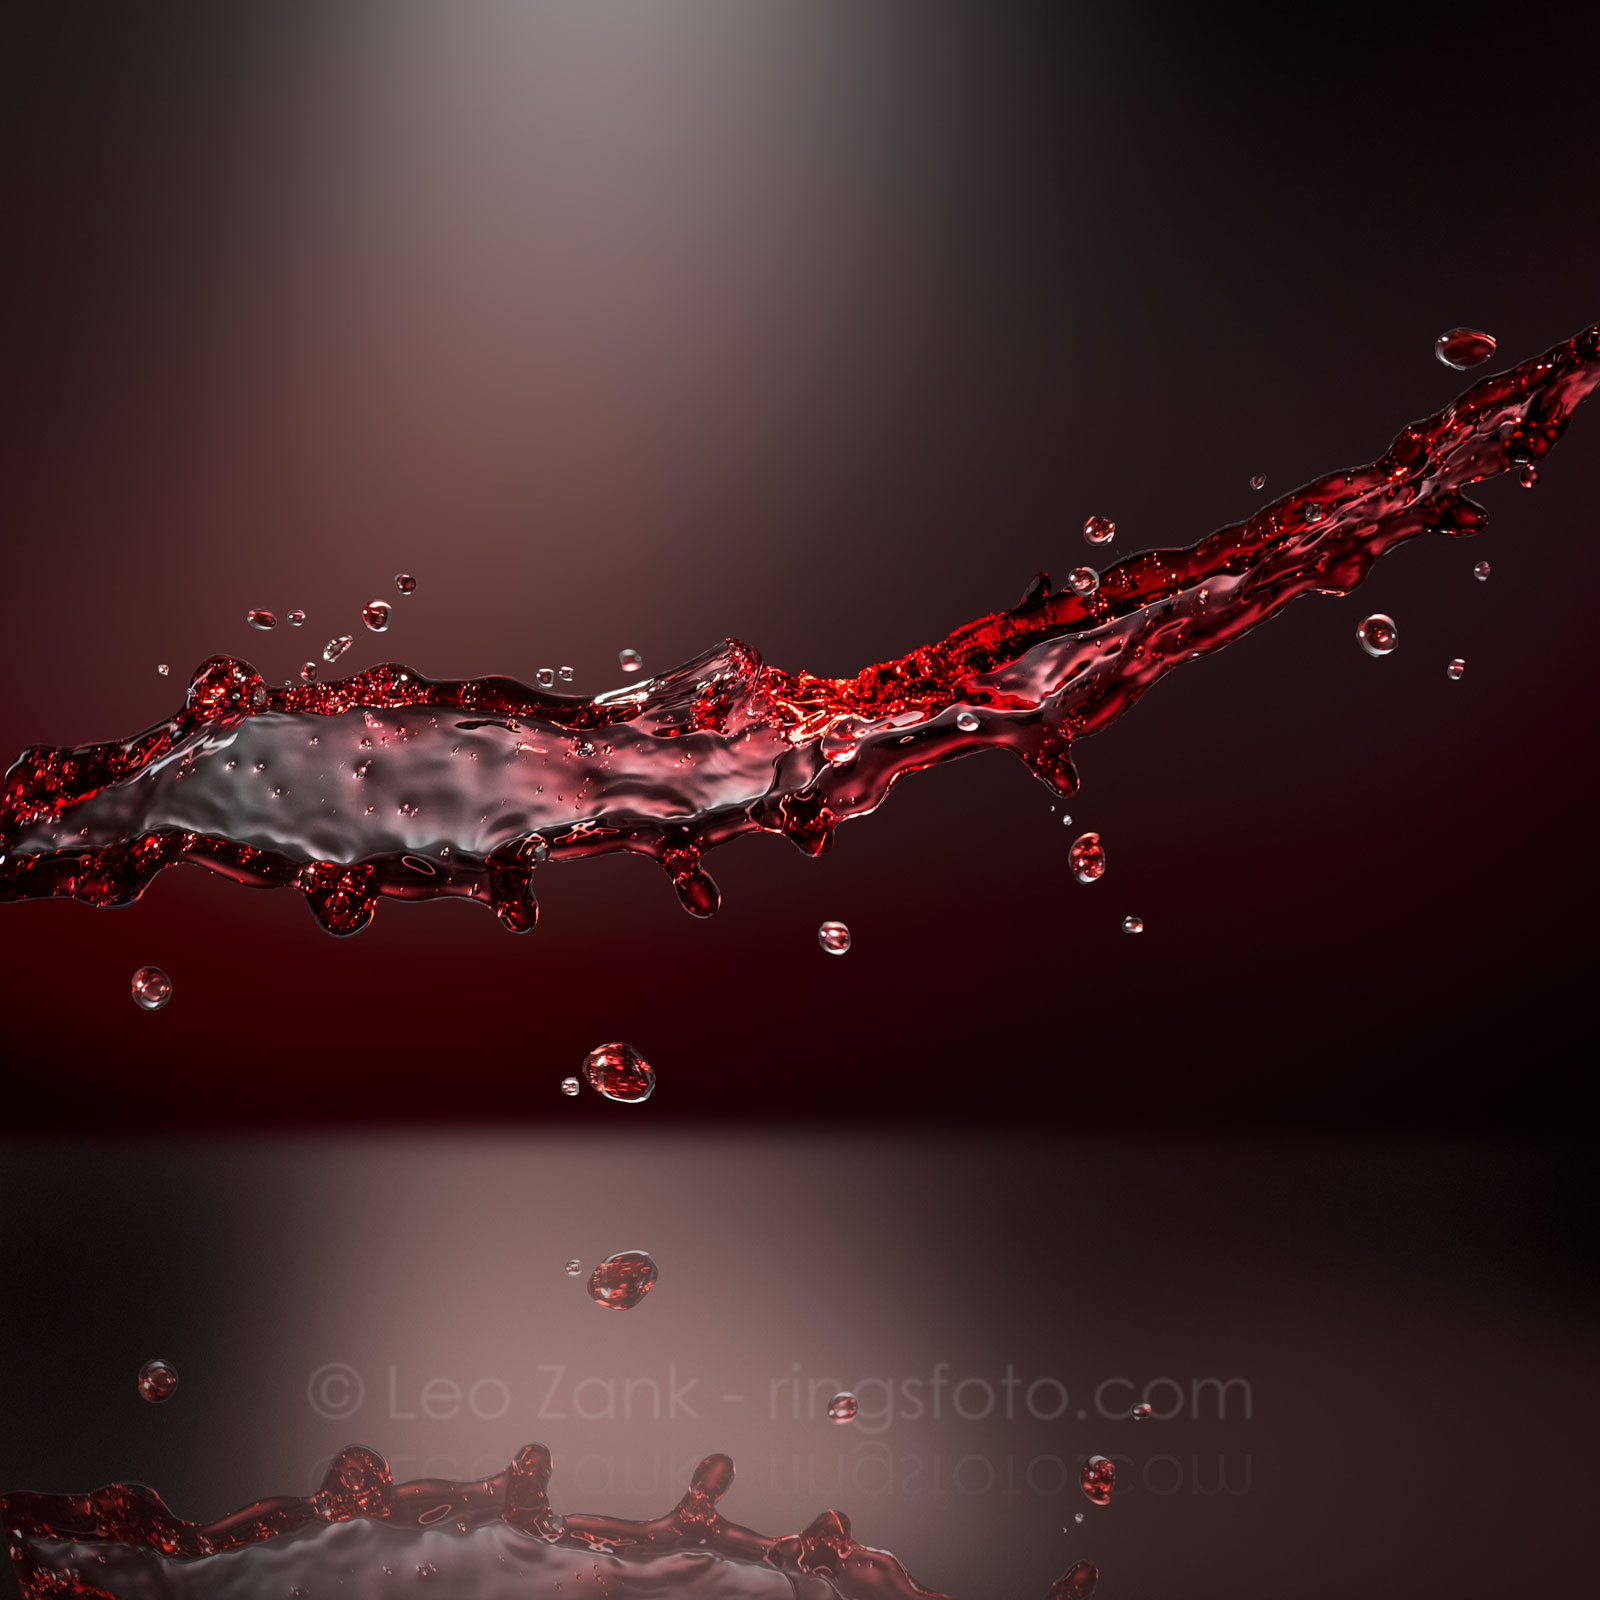
Next step is post processing. This will continue in Part 2. Stay in touch to see how to make this:


